Registering for a Google Earth Engine account
You can skip this step if you already have a Google Earth Engine account, and already registered for a cloud project.
0️⃣Before starting, make sure you have a Gmail account (or sign up for one at @gmail.com).
1️⃣ Go to the GEE sign up pageand
select the email address you want to use for your GEE account.

2️⃣Choose “Register a Noncommercial or Commercial Cloud
project” to proceed.

3️⃣Under the question: “How do you want to use Earth
Engine?”, select the option that best fits your purpose. For
this course, I recommend choosing “Unpaid usage”.

4️⃣In the next step,select “Create a new Google Cloud
Project”.
Under this section:
➡️
Organization: Leave this as the default (No
organization).
➡️ Project-ID: This can not be
changed later, so please select a meaningful name.
➡️
Project Name: This is optional, but you can choose one
for your own reference or to share with collaborators

⚠️ If you never used Google Cloud before, expect a warning like the
one shown below.

You must accept the Cloud Terms of Service before continuing.
5️⃣Once you have accepted, click “continue” and
confirm the project you just created.
You will receive confirmation shortly

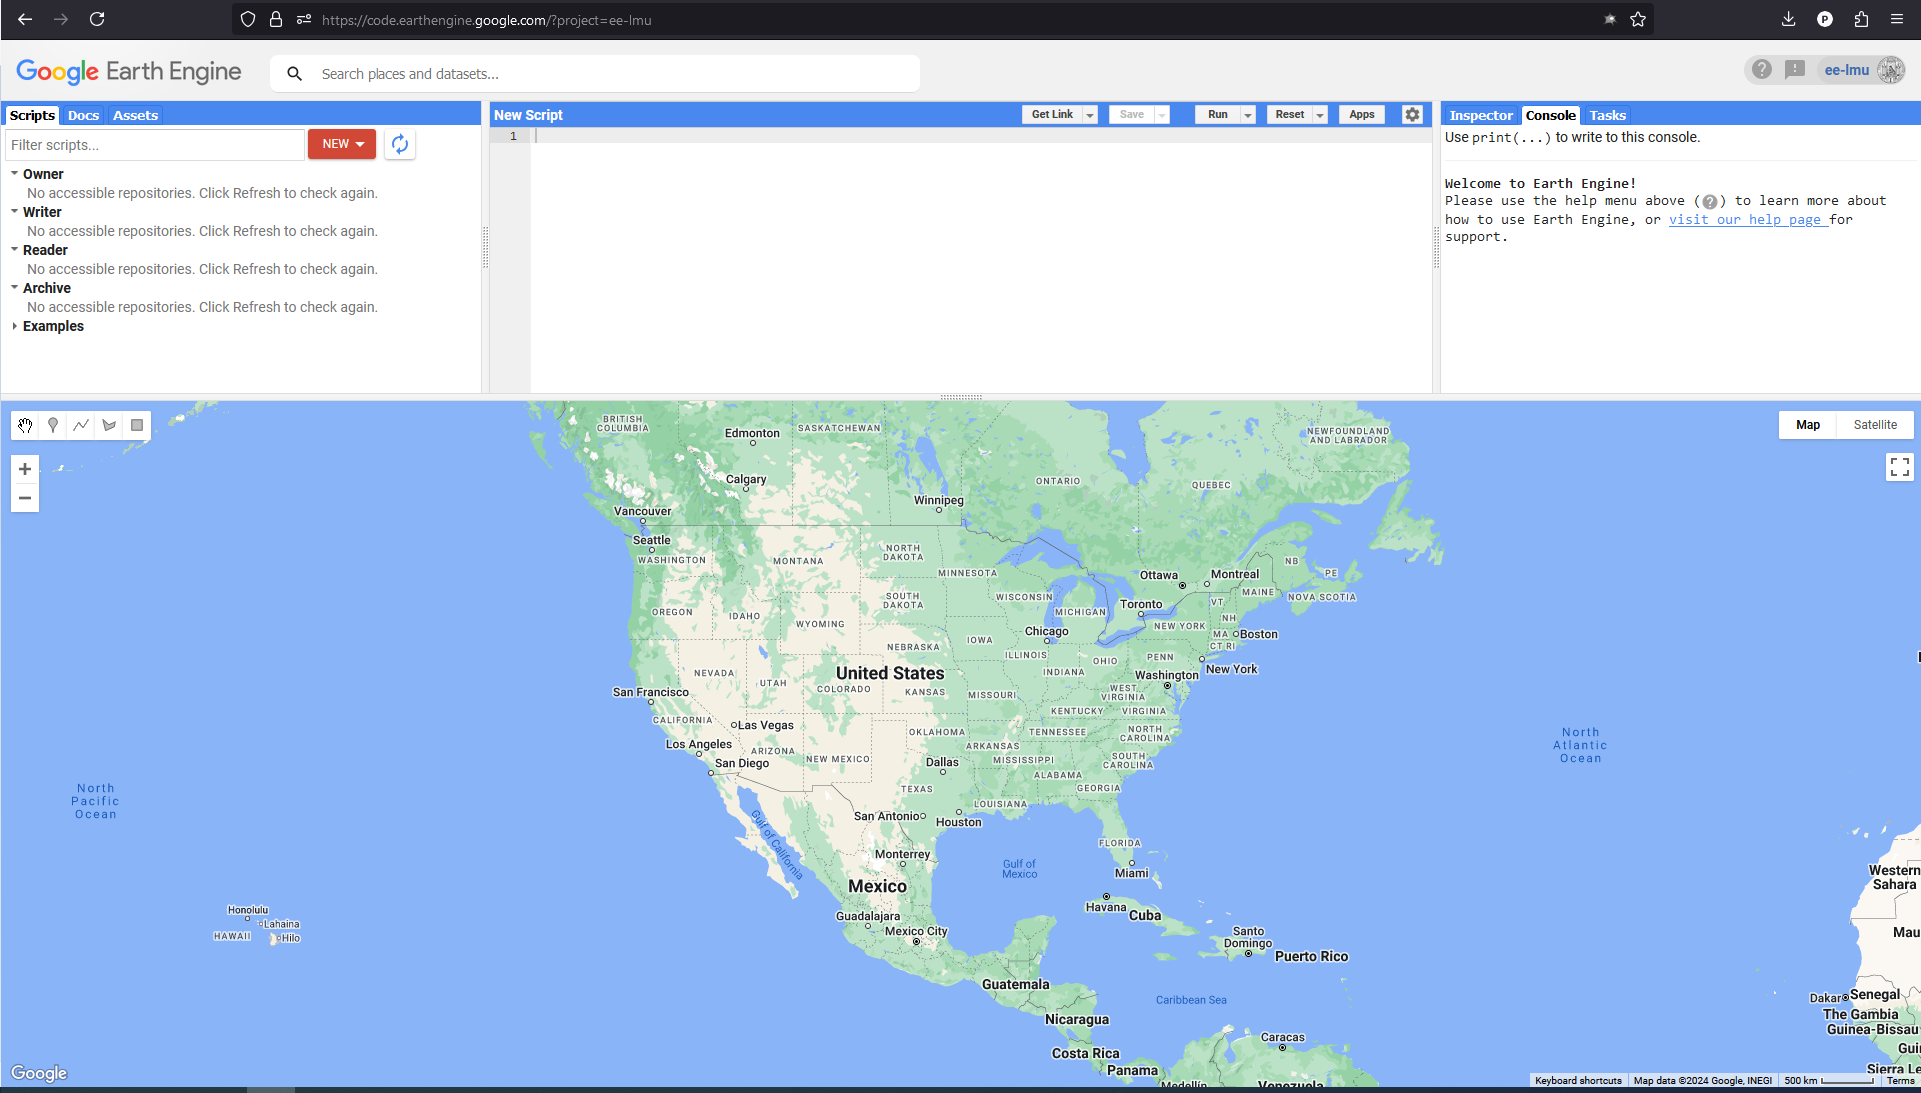
6️⃣After pressing “Confirm”, you will be automatically direct
to the GEE Editor interface .

Welcome to the course “Introduction to Google Earth Engine for Big Data Analysis”
😕 Not sure if you have access?
👉Use
this link to check.
☑️ If you have access, the link will take you to the GEE
interface. (Otherwise, repeated steps 1 to 6 above.)